Table of Contents
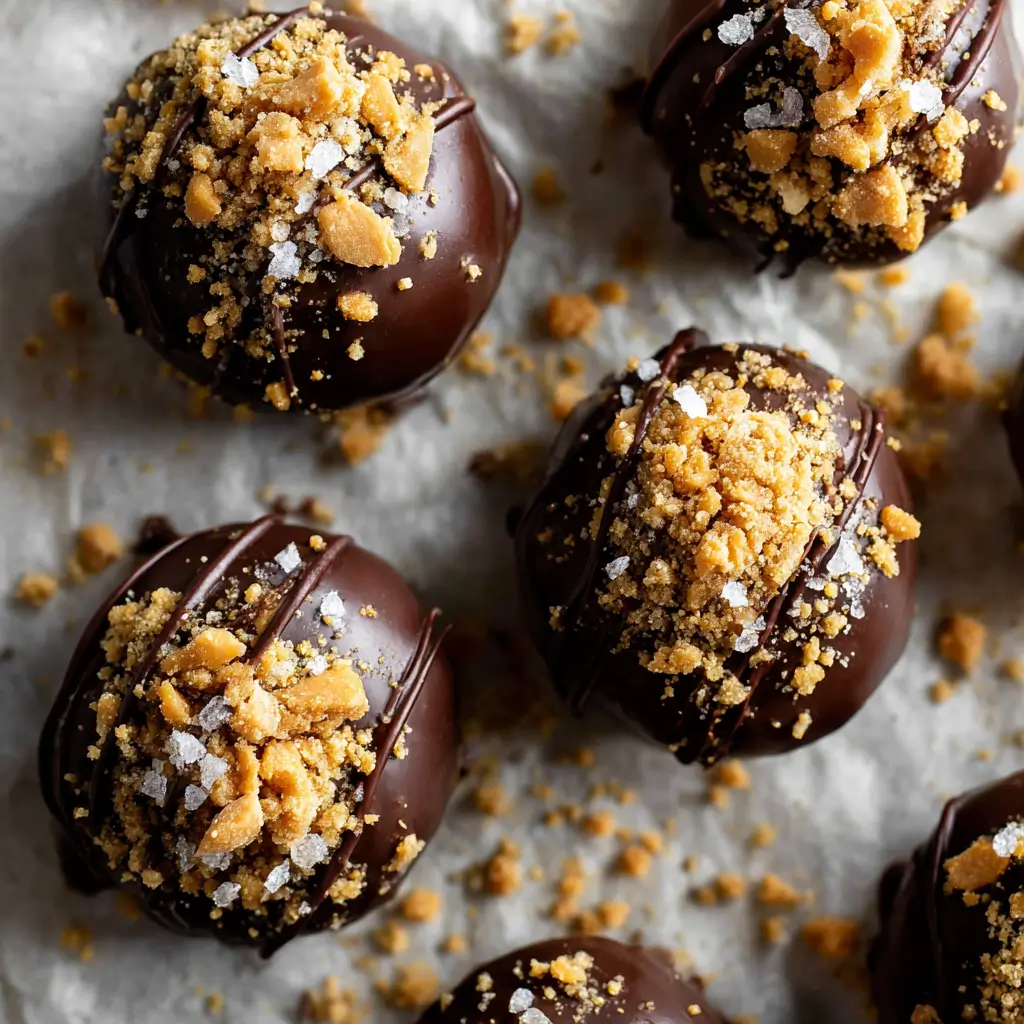
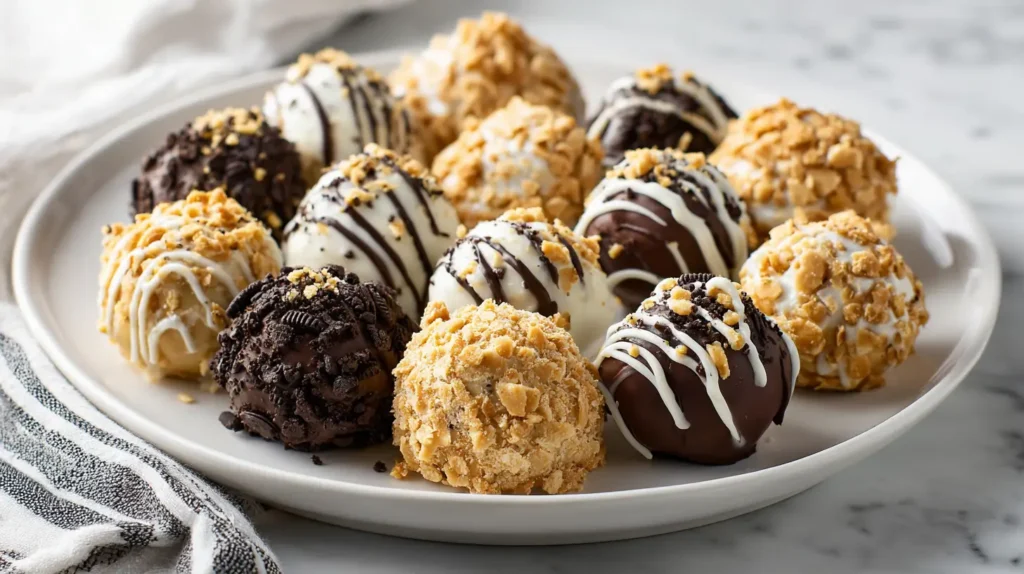
No Bake Peanut Butter Cheesecake Balls taste like a tiny slice of creamy heaven—cool, rich centers rolled smooth and finished with a delicate chocolate shell. In minutes, pantry stars like peanut butter, cream cheese, and vanilla whirl into a cheesecake-soft truffle you chill instead of bake. Craving seasonal spins like No Bake Pumpkin Cheesecake Balls or festive Christmas Peanut Butter Balls? You’re covered. Want crunch? Fold in Rice Krispies for Peanut Butter Balls With Rice Krispies or Peanut Butter Rice Crispy Balls joy, or go bold with Peanut Butter Oreo Balls or Chocolate Covered Peanut Butter Balls.
Why You’ll Love This Recipe
- Silky cheesecake texture without turning on the oven—pure chill, scoop, and set satisfaction.
- Flexible mix-ins let you riff from No Bake Peanut Butter Cheesecake Bites to snackable Peanut Butter Protein Balls No Bake.
- Freezer-friendly sweets for last-minute treats, lunchboxes, or dessert boards.
- Balanced sweetness: tangy cream cheese reins in rich peanut butter for craveable harmony.
- Holiday-ready: roll in sprinkles for Christmas Peanut Butter Balls or drizzle stripes for party polish.
Recipe Snapshot
| Feature | Details |
|---|---|
| Category: | Dessert |
| Cuisine: | Healthy Treat |
| Prep Time: | 15 minutes |
| Cook Time: | 0 minutes |
| Total Time: | 45 minutes (includes chill) |
| Dietary: | Gluten-Free (use GF cookie crumbs/cereal) |
| Serves: | 4 (makes ~24 balls) |
| Best Served: | Chilled |
Ingredients – No Bake Peanut Butter Cheesecake Balls
- Naturally creamy peanut butter – delivers nutty richness and satisfying body.
- Block-style cream cheese – the cheesecake tang and ultra-smooth texture.
- Pure vanilla extract – rounds out the dairy and nut notes.
- Maple syrup or powdered sugar – choose to taste; maple offers depth, powdered gives classic confection vibe.
- Fine sea salt – a pinch sharpens flavors.
- Graham cracker or cookie crumbs (GF if needed) – helps the centers set with a gentle bite.
- Optional crisp: crushed Krispies – for Peanut Butter Balls With Rice Krispies texture.
- Optional mix-ins – mini chocolate chips, crushed Oreos for Peanut Butter Oreo Balls, or a scoop of vanilla protein for Peanut Butter Protein Balls No Bake.
- Dark chocolate + coconut oil – glossy shell for Chocolate Covered Peanut Butter Balls.
No Bake Peanut Butter Cheesecake Balls
Ingredients
Equipment
Method
- Beat peanut butter and cream cheese together until smooth and fluffy.
- Add vanilla, sweetener of choice, and a pinch of salt; mix until incorporated. Taste and adjust sweetness.
- Fold in cookie crumbs (and optional Rice Krispies or other mix-ins) until the mixture holds its shape.
- Cover and refrigerate 20–30 minutes until firm enough to roll.
- Roll into 1-inch balls using a scoop or spoon. Place on parchment-lined sheet and chill 10 minutes more.
- Melt chocolate with coconut oil. Dip chilled balls into chocolate using a fork, tap off excess, and return to parchment. Add sprinkles if desired.
- Chill 10–15 minutes until coating sets. Serve cold or store for later.
Notes
How to Make the Recipe – No Bake Peanut Butter Cheesecake Balls
Think quick whisking, a brief chill, and a calm dip—No Bake Peanut Butter Cheesecake Balls that look boutique but take pantry-level effort.
Step 1: Whip the Base
Beat peanut butter and cream cheese until completely smooth and fluffy.
Step 2: Sweeten & Season
Mix in vanilla, maple syrup or powdered sugar, and a pinch of salt; taste and adjust sweetness.
Step 3: Set the Texture
Fold in cookie crumbs (and crisped cereal if using) until the mixture feels scoopable but soft.
Step 4: Chill to Scoop
Cover and refrigerate 20–30 minutes until firm enough to roll.
Step 5: Roll
Scoop about 1 tablespoon per ball; roll quickly between cool palms. Chill again 10 minutes.
Step 6: Coat
Melt chocolate with coconut oil; dip balls using a fork, tap off excess, and set on parchment. Add sprinkles or crushed cookies if desired.
Step 7: Set & Serve
Chill 10–15 minutes until the shell firms. Enjoy now or store for later.
Pro Tips for Making the Recipe – No Bake Peanut Butter Cheesecake Balls
- Room-temp dairy beats lump-free and fast—cold blocks resist smoothing.
- Use natural PB that’s well-stirred; dry bottoms in the jar can crumble the mix.
- A little crumb goes a long way—add gradually so the centers stay plush, not pasty.
- Dip cold balls in warm chocolate for the thinnest, snappiest coating.
- Holiday remix: roll in crushed candy canes for Christmas Peanut Butter Balls sparkle.
How to Serve No Bake Peanut Butter Cheesecake Balls
Let contrast lead the way—cool truffles, warm drinks, bright garnishes.
- Stack on a tiered stand with fresh berries for color.
- Drizzle white chocolate zigzags over a dark shell.
- Roll some in toasted coconut, others in cocoa for a mixed platter.
- Serve alongside espresso or hot cocoa for café vibes.
- Tuck into lunchboxes as Cheesecake Bites No Bake treats.
- Skewer minis for dessert kabobs with strawberries.
- Gift in parchment cups for easy party passing.
- Crush a couple over yogurt parfaits for crunch.
- Pair with salty pretzels for sweet-salty snacking.
- Theme nights: Oreo-coated for Peanut Butter Oreo Balls or pumpkin-spiced for No Bake Pumpkin Cheesecake Balls.
Make Ahead and Storage – No Bake Peanut Butter Cheesecake Balls
Storing Leftovers
• Refrigerate in a covered container up to 1 week.
• Separate layers with parchment to protect the shells.
• If condensation forms, dab gently before serving for a clean finish.
• For softer centers, rest 5 minutes at room temp.
Freezing
• Freeze on a sheet until solid, then bag for up to 2 months.
• Thaw in the fridge 30–60 minutes for best texture.
• Dip after thawing if you prefer a just-set shell.
• Label flavor variants (sprinkles, Oreos, pumpkin spice) for easy picks.
Reheating
• No reheating needed—serve chilled.
• To soften, hold at room temp a few minutes.
• For a melty drizzle, warm extra chocolate briefly and zigzag just before serving.
• Avoid microwaving the balls; the shell can melt unevenly.
FAQs
What are the health benefits of the main ingredients?
Peanut butter provides protein and healthy fats, while cream cheese adds creamy satisfaction—great in small, portion-controlled bites.
Can I substitute a major ingredient?
Use Neufchâtel for lighter dairy, almond butter for a new nut profile, or switch crumbs to gluten-free cookies or oats. Skip chocolate coating for faster No Bake Peanut Butter Cheesecake Bites.
How can I add flavor without extra calories?
Stir in espresso powder, citrus zest, or warm spices; a pinch transforms the filling. Explore smart no-bake ideas for more bright, low-effort upgrades.
Can I meal prep No Bake Peanut Butter Cheesecake Balls?
Absolutely—prepare, freeze, and thaw as needed. Keep a mix of plain, Oreo-coated, and Krispies-crunch to cover every craving, from party platters to weeknight nibbling.
Final Thoughts
No Bake Peanut Butter Cheesecake Balls prove that tiny desserts can deliver big flavor: a cool, creamy center, a tidy snap of chocolate, and endless ways to customize. They’re quick for weeknights, festive for holidays, and forgiving enough for new bakers. Stock your freezer, switch up the coatings, and enjoy a dessert that’s as fun to make as it is to eat.