Table of Contents
Ah, Halloween—the season when the air is crisp, leaves swirl like confetti, and kitchens across the neighborhood fill with delightful aromas. I remember our family Halloween tradition: each year, my mom would gather us all in the kitchen to create spooky snacks. The warmth from the oven mingled with the earthy scent of roasted pumpkin seeds and melted cheese, inviting us into a cozy culinary adventure. It always felt like magic when those cute, ghost-shaped cheese toasts emerged from the oven—golden, cheesy, and just a bit mischievous!
We would giggle as we decorated them with olives and bell peppers, transforming simple ingredients into little monsters on our plates. It wasn’t just the deliciousness that kept us coming back; it was the laughter, the creativity, and the memories we made together. I’m thrilled to share this delightful Halloween Snack with you—it’s fun to make, tasty to eat, and perfect for any gathering. Trust me, your kitchen will be filled with good vibes and yummy smells, and you, too, will love every bite!
Why You’ll Love This Recipe
- Easy to Make: Simple steps mean you can whip these up in no time, even on a busy Halloween night!
- Quick Prep: You’ll spend less than 20 minutes in the kitchen, so you have more time for trick-or-treating or enjoying festivities.
- Healthy Option: With wholesome ingredients like bread, cheese, and fresh veggies, this snack is a treat you can feel good about.
- Flavorful Fun: The creamy cheese, savory olives, and sweet roasted bell peppers create a deliciously eclectic taste experience.
- Crowd-Pleasing: Kids and adults alike will adore these spooky snacks—perfect for parties or family gatherings!
Ingredients
To craft this Halloween masterpiece, you’ll need the following:
- Bread: Use whole grain or sourdough for that extra depth of flavor. A denser bread holds the toppings better!
- Cheese: Cream cheese or cheddar work fabulously for spreading. They add a creamy texture and rich flavor that blend perfectly with the bread.
- Olives: These little gems are perfect for creating spooky eyes on your creations—go for black or green based on preference!
- Bell Peppers: Sweet bell peppers add a pop of color and crunch. Slice them into fun shapes for an added festive touch!
- Tortilla Chips: Serve with these for a crunchy side—or get creative and use them to scoop up any cheesy goodness!
- Dips (optional): Salsa or guacamole can elevate this snack even further, adding varying layers of flavor and texture.
Full recipe card is below.
How to Make It
Step 1: Cut the Bread
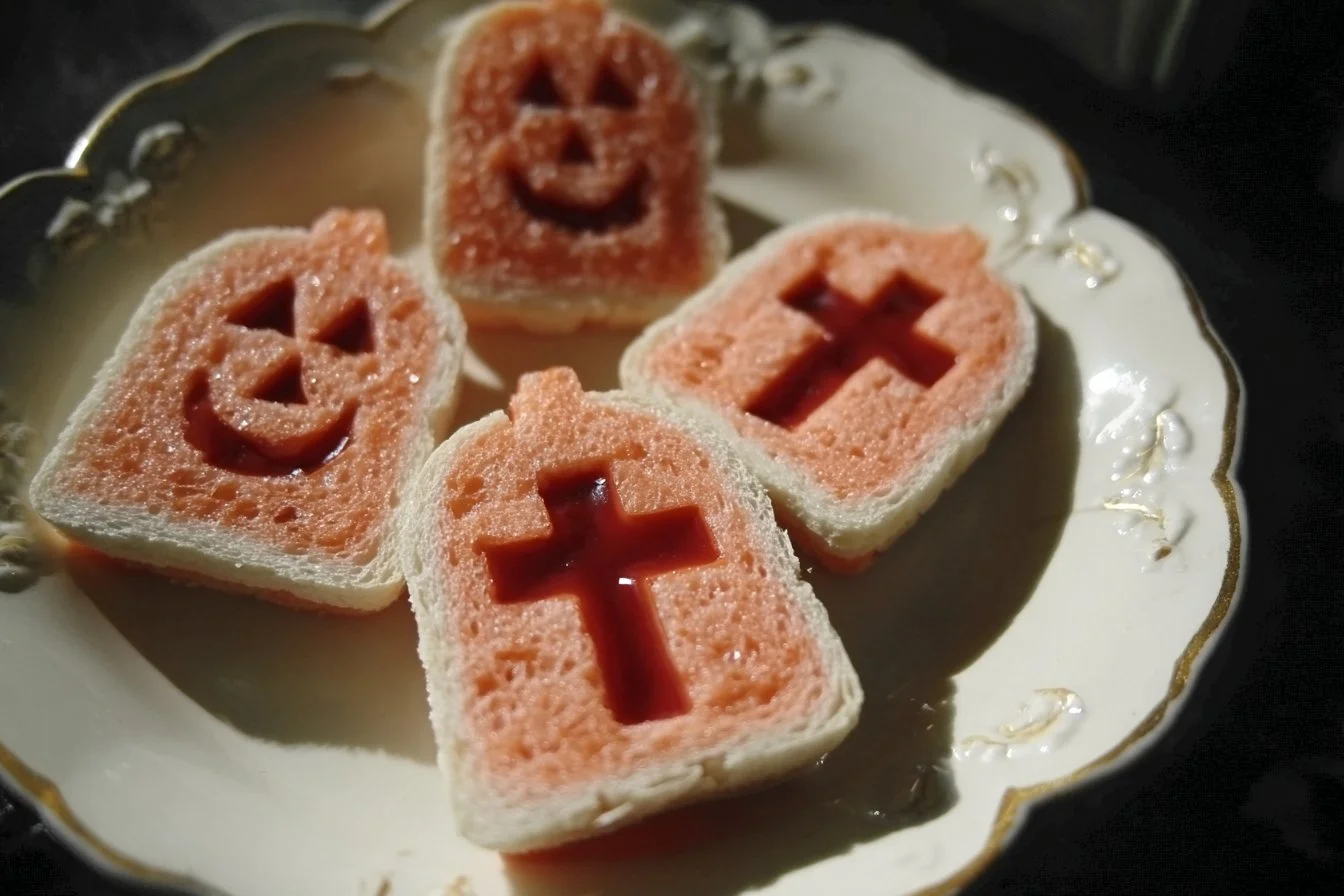
Grab those cookie cutters and channel your inner artist! Cut the bread into ghost shapes, pumpkins, or whatever Halloween spirit strikes you. The fun shapes add to the excitement and keep everyone intrigued!
Step 2: Spread the Cheese
With a small spatula or knife, spread a hearty layer of cheese on each piece. Imagine that creamy goodness slowly melting as they bake—pure comfort!
Step 3: Decorate with Olives and Bell Peppers
Pop those olives in place for eyes and get creative with the bell pepper strips to create ghoulish mouths, horns, or spooky hats. The vibrant colors will make your snack come to life!
Step 4: Serve with Chips and Dips
Arrange your adorable creations on a platter, surrounded by tortilla chips for dipping. You can even add a small bowl of salsa or guacamole right in the center for extra fun!
Pro Tips for Success
- Use sharp cookie cutters for cleaner shapes and easier cutting.
- Let your creativity shine—don’t be afraid to experiment with different shapes and designs!
- For extra crunch, toast your bread in the oven for a few minutes before adding toppings.
- Make a double batch; they fly off the table quicker than ghosts at midnight!
- If you’re in a hurry, use pre-sliced cheese for an even quicker assembly.
Flavor Variations
Feel free to switch it up! Try using:
- Different Breads: Bagels or pumpernickel for a unique twist.
- Spicy Cheese: Pepper jack for a kick!
- Seasonings: Sprinkle with Italian herbs or paprika for added charm and flair.
- Veggies: Add cucumbers or cherry tomatoes as extra decorations or dippers.
Serving Suggestions
Pair with a refreshing apple cider or homemade pumpkin spice latte. For plating, a little spiderweb made from melted chocolate around the edges of your serving platter makes for a show-stopping presentation!
Make-Ahead & Storage
Prepare the cheese-topped bread in advance and store it in the fridge until you’re ready to bake. They can last for about 2 days in the fridge if stored in an airtight container.
Leftovers
If you have any leftover bread, don’t worry! Cut it up for a tasty breakfast by scrambling some eggs and making breakfast sandwiches or even croutons for a cozy soup!
Freezing
These delightful snacks can be frozen before baking. Wrap them individually in plastic wrap and place them in a freezer bag. To thaw, simply let them sit in the fridge overnight before baking!
Reheating
For the best results, pop them in the oven at 350°F for 10 minutes to keep that crispiness. You can also use the microwave for a faster option, but they might lose a bit of their crunchy texture.
FAQs
Can I use gluten-free bread?
Absolutely! Gluten-free bread works well; just ensure it’s sturdy enough to hold the toppings.
Can I use vegan cheese?
Yes! Vegan cheese is a great option for a plant-based twist.
What’s a good dip to serve with these?
Salsa, guacamole, or even a creamy ranch dip pairs beautifully with these spooky snacks.
Can kids help with the decorating?
Of course! It’s a fun and engaging activity for the little ones—a perfect way to unleash their creativity!
Final Thoughts
Cooking is all about sharing love, laughter, and delicious food with those who matter most to you. This Halloween Snack is designed to bring smiles and spark creativity in the kitchen! As you whip up these delightful treats, let the kitchen fill with warmth, laughter, and perhaps a little ghostly cheer. I hope this helps create cherished memories for you and your loved ones, just as it did for me. Wishing you a spooky, sweet, and cozy Halloween! Happy cooking, dear friends! 🎃✨
Spooktacular Halloween Snack
Ingredients
Method
- Step 1: Cut the Bread – Use cookie cutters to create ghost shapes, pumpkins, or any fun Halloween designs.
- Step 2: Spread the Cheese – Spread a hearty layer of cheese on each piece of bread.
- Step 3: Decorate with Olives and Bell Peppers – Use olives for eyes and create ghoulish designs with the bell peppers.
- Step 4: Serve with Chips and Dips – Arrange decorated snacks on a platter with tortilla chips and dips.