Table of Contents
Green Chile Garlic Cheese: The Ultimate Flavor Explosion!
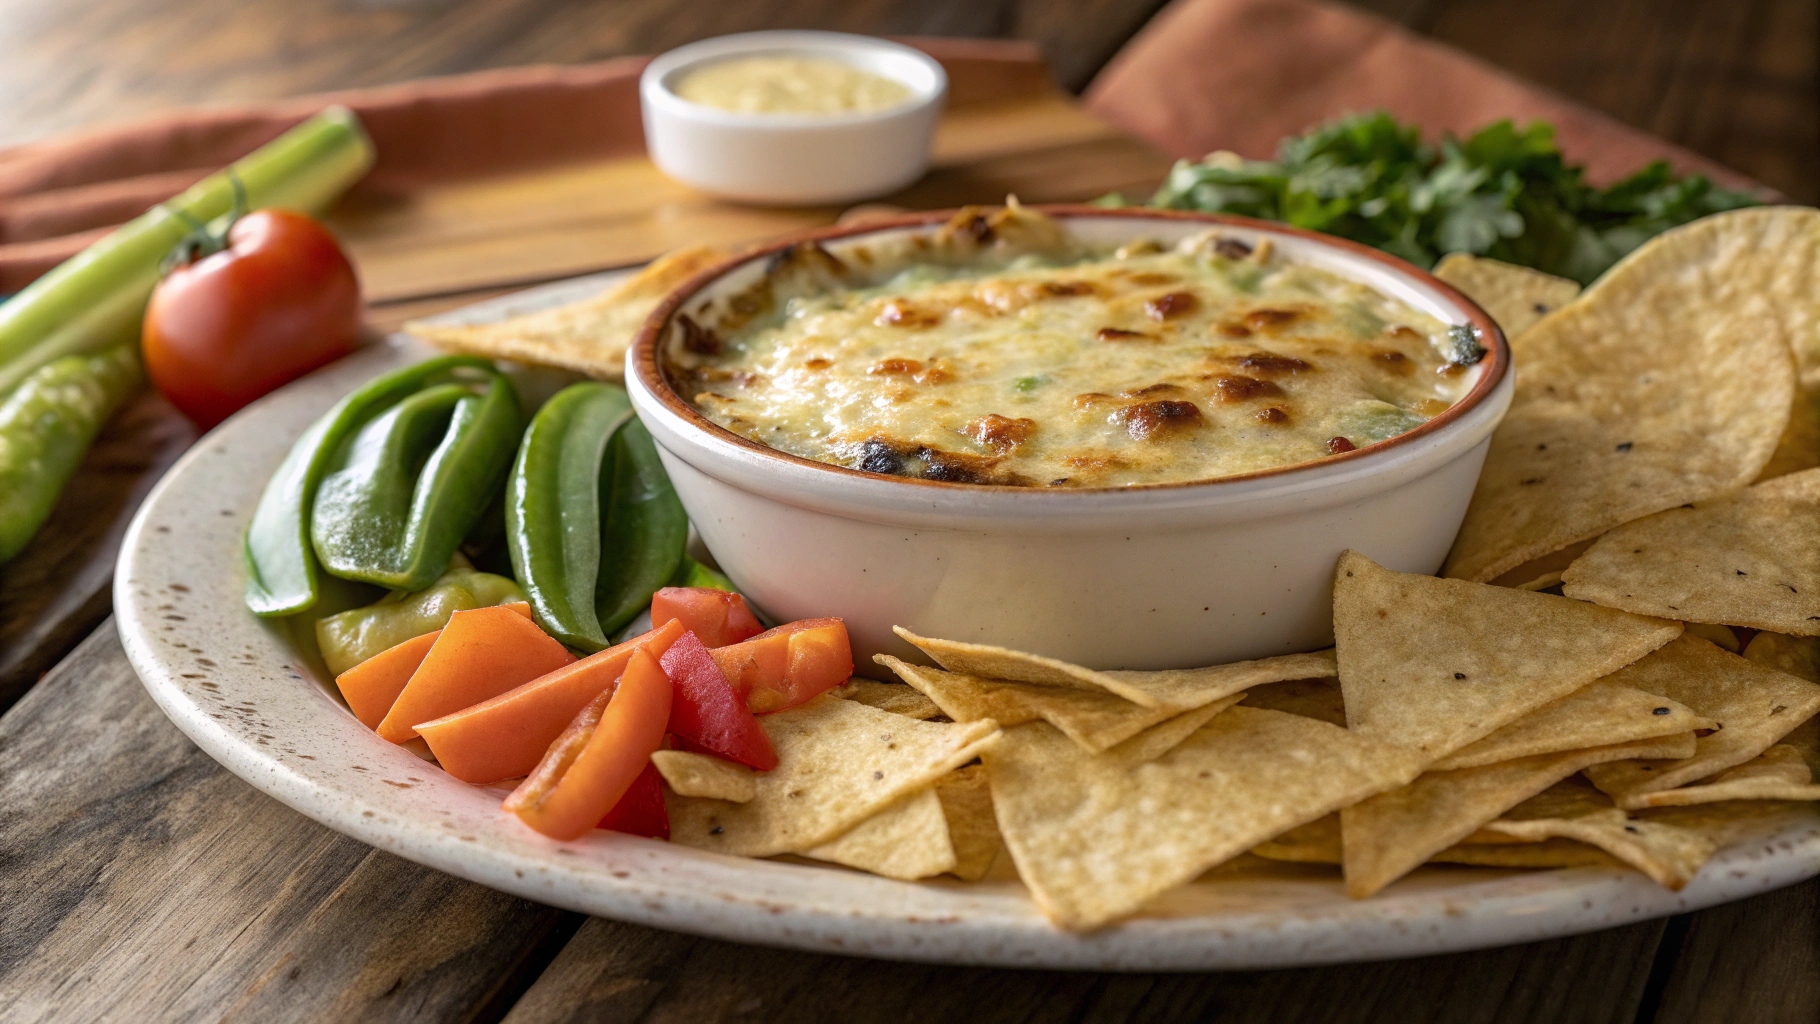
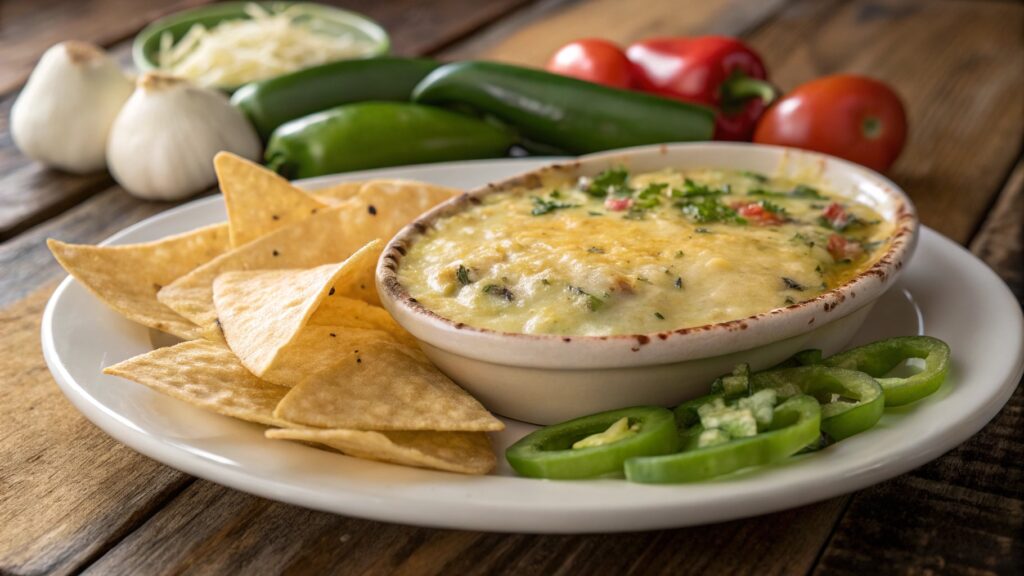
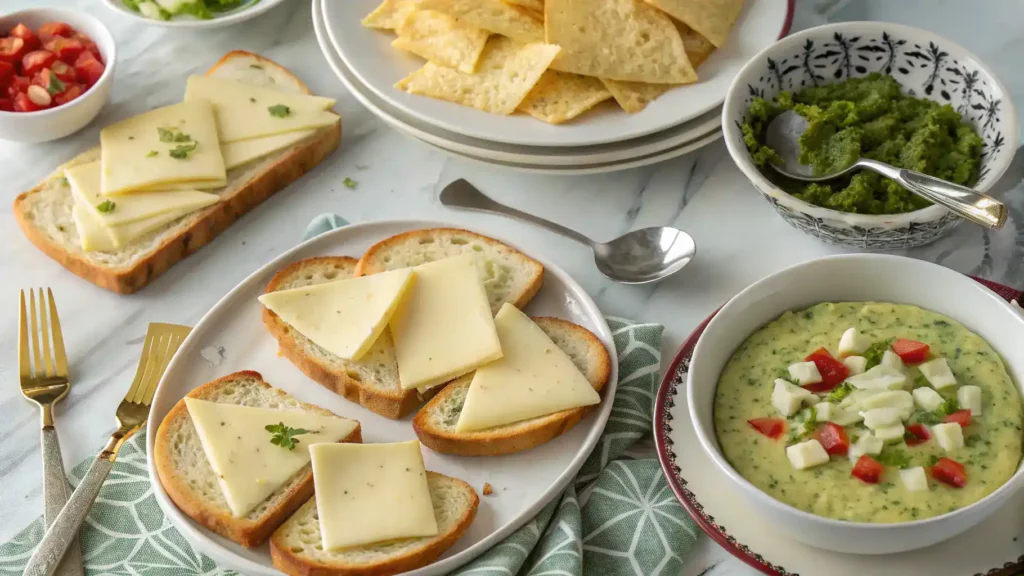
Imagine a warm, gooey cheese dip that dances with the vibrant heat of roasted green chiles and the irresistible aroma of garlic. Each bite is a delightful explosion of creamy texture and zesty flavor, making your taste buds sing with joy! Perfect for dipping crispy tortilla chips or slathering on fresh bread, this green chile garlic cheese is not just a dish; it’s a celebration of flavors that brings friends together. Get ready to indulge in this cheesy delight that’s sure to become your new favorite party pleaser!
Why You’ll Love This Recipe
- Trust me, you’re going to love this flavor explosion!
- This one’s a game-changer for your cheese board.
- Perfect balance of spicy and savory—what’s not to love?
- Easy to whip up, making it a go-to for gatherings.
- It pairs beautifully with everything from crackers to veggies!
Recipe Snapshot
| Feature | Details |
|---|---|
| Category | Side Dish |
| Cuisine | American-inspired comfort food |
| Prep Time | 10 minutes |
| Cook Time | 15 minutes |
| Total Time | 25 minutes |
| Dietary | Vegetarian |
| Serves | 4 |
| Best Served | Hot and cheesy right off the cob! |
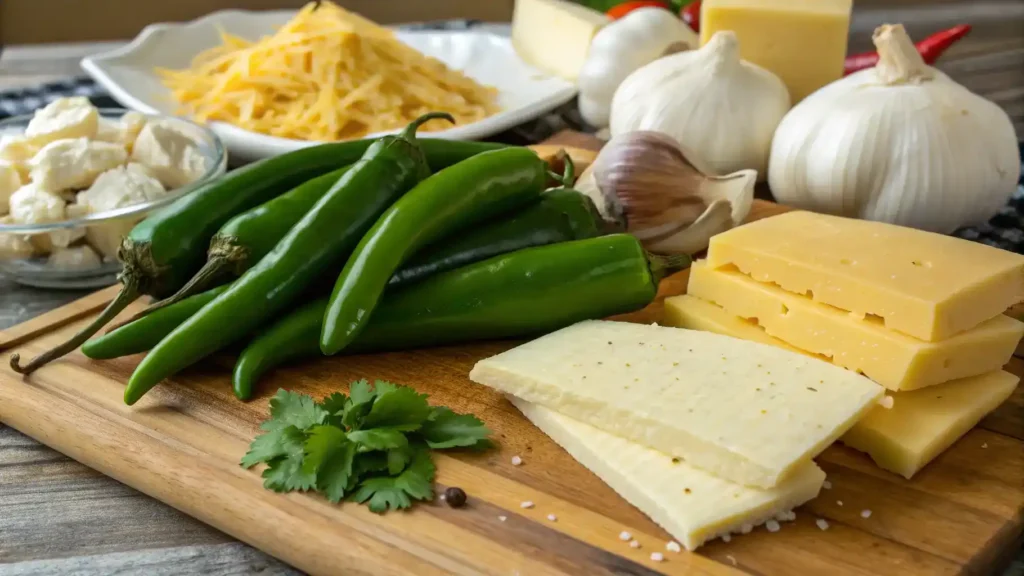
Ingredients
- Green Chile – Adds a spicy kick and vibrant flavor.
- Garlic – Infuses the cheese with aromatic depth.
- Cheese – The creamy base that brings it all together; choose your favorite type!
- Salt – Enhances all the flavors and balances the dish.
- Pepper – Adds a touch of heat and complexity.
- Olive Oil – Helps to blend the ingredients smoothly.
Ingredients with measurements will be right under the article in the recipe card.
How to Make the Recipe
Get ready to dive into a flavor-packed adventure with this Green Chile Garlic Cheese recipe! Follow these simple steps for a cheesy delight.
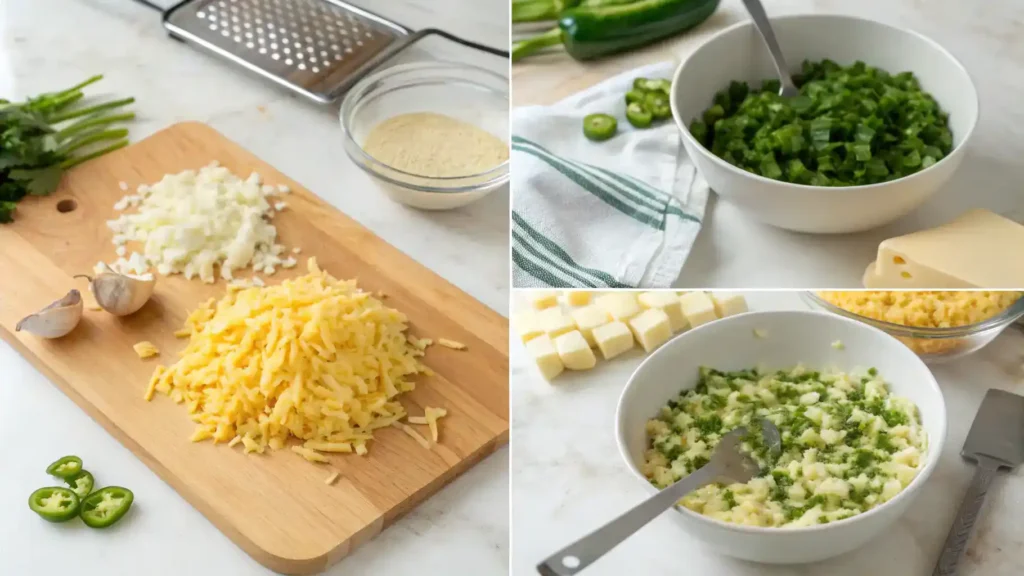
Step 1: Gather Your Ingredients
Collect 1 cup of shredded cheese, 1/2 cup of diced green chiles, 2 cloves of minced garlic, and a pinch of salt.
Step 2: Preheat Your Oven
Set your oven to 350°F (175°C) and let it warm up while you prepare the mixture.
Step 3: Mix the Ingredients
In a mixing bowl, combine the shredded cheese, diced green chiles, minced garlic, and salt. Stir until well blended.
Step 4: Prepare the Baking Dish
Grease a small baking dish with a bit of oil or butter to prevent sticking.
Step 5: Transfer the Mixture
Pour the cheesy mixture into the greased baking dish, spreading it evenly.
Step 6: Bake to Perfection
Place the dish in the preheated oven and bake for 20-25 minutes, or until the cheese is bubbly and golden.
Step 7: Let It Cool
Once baked, remove the dish from the oven and let it cool for a few minutes. This will help it set up nicely.
Step 8: Serve and Enjoy!
Dig in with tortilla chips, bread, or veggies. Enjoy the explosion of flavors!
Pro Tips for Making the Recipe
- Use fresh green chiles for a vibrant flavor boost.
- Roast the garlic until golden for a sweeter, richer taste.
- Experiment with different cheese blends for unique textures.
- Let the mixture sit for a bit to meld the flavors together.
- Serve warm with crusty bread for the perfect pairing.
How to Serve
- Spread on warm, crusty bread for a delightful appetizer.
- Top your favorite nachos for a cheesy, spicy kick.
- Mix into scrambled eggs for a zesty breakfast treat.
- Use as a dip for fresh veggies or tortilla chips.
- Incorporate into grilled cheese sandwiches for an elevated twist.
- Serve alongside roasted meats for a flavorful side.
- Pair with a crisp salad for a refreshing contrast.
- Drizzle over baked potatoes for a gourmet touch.
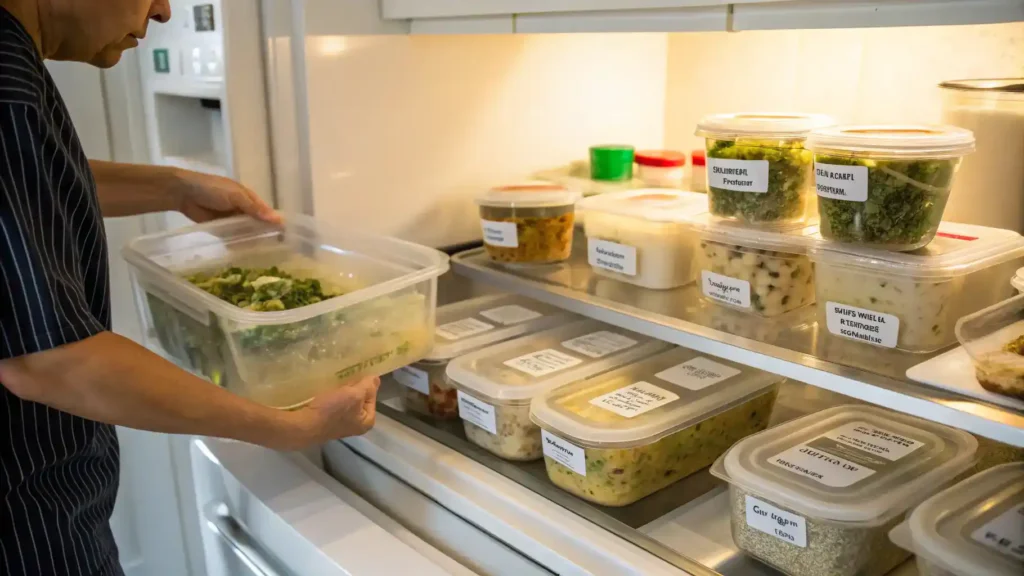
Make Ahead and Storage
Storing Leftovers
• Allow the dish to cool completely before storing.
• Transfer to an airtight container.
• Store in the refrigerator for up to 3 days.
• Label the container with the date for easy tracking.
Freezing
• Portion the dish into freezer-safe containers.
• Leave some space at the top for expansion.
• Seal tightly to prevent freezer burn.
• Freeze for up to 3 months for best quality.
Reheating
• Thaw in the refrigerator overnight before reheating.
• Use the oven at 350°F for even heating.
• Stir occasionally to maintain texture.
• Microwave in short intervals, stirring in between.
FAQs
What type of cheese works best for green chile garlic cheese?
For the best flavor and texture, use a combination of sharp cheddar and cream cheese. The sharp cheddar adds a robust flavor, while the cream cheese provides creaminess that binds everything together.
Can I adjust the spiciness of the green chile garlic cheese?
Absolutely! You can control the heat by choosing mild or hot green chiles. If you’re unsure, start with a small amount and gradually add more until you reach your desired spice level.
How can I store leftover green chile garlic cheese?
Store any leftovers in an airtight container in the refrigerator. It should stay fresh for about a week. You can also freeze it for longer storage; just make sure to thaw it in the fridge before using.
What are some serving suggestions for green chile garlic cheese?
This flavorful cheese spread is perfect for dipping with tortilla chips, spreading on sandwiches, or topping baked potatoes. Get creative and use it in your favorite recipes for an extra kick!

Final Thoughts
There you have it—your ticket to a flavor fiesta with green chile garlic cheese! This dish is not just a recipe; it’s a celebration of taste that’s easy to whip up and oh-so-rewarding. So gather your loved ones, dive into this cheesy goodness, and let the delightful flavors take you on a nostalgic journey. Enjoy every bite, and don’t forget to share the joy!